Introduction
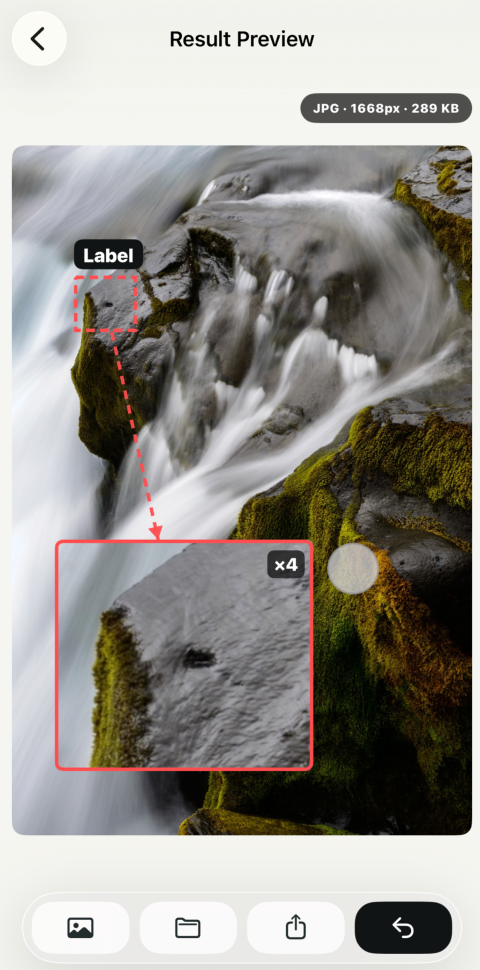
Smart Image Annotation helps turn ordinary photos into clear explanation images, tutorial visuals, product notes, or paper-style figure callouts. It can detect important areas in a picture, add annotation boxes, create a magnified detail preview, connect the original area to the enlarged view, and export a polished result image for saving or sharing.
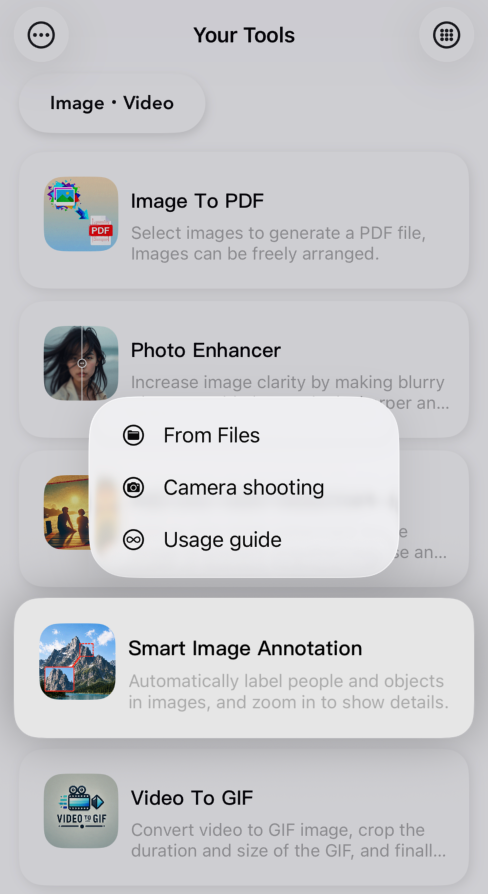
1. Open Smart Image Annotation
Choose "Smart Image Annotation" from Xtools, then import an image from Files, take a new photo, or read the short usage guide. The feature is designed for local image processing, so your source photo can be prepared directly on your device before editing.
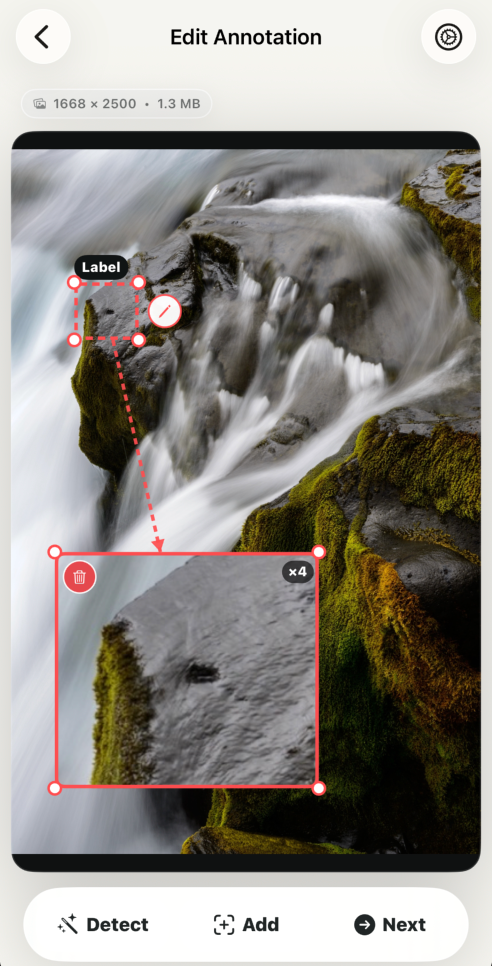
2. Detect and Edit Annotations
Tap Recognize to let the app analyze the image. It first uses on-device machine learning and Vision capabilities to identify likely subjects, text, people, animals, or objects. When a model cannot confidently decide, Core ML object detection and manual annotation act as fallbacks, so you can still add, move, resize, label, or delete custom callouts yourself.
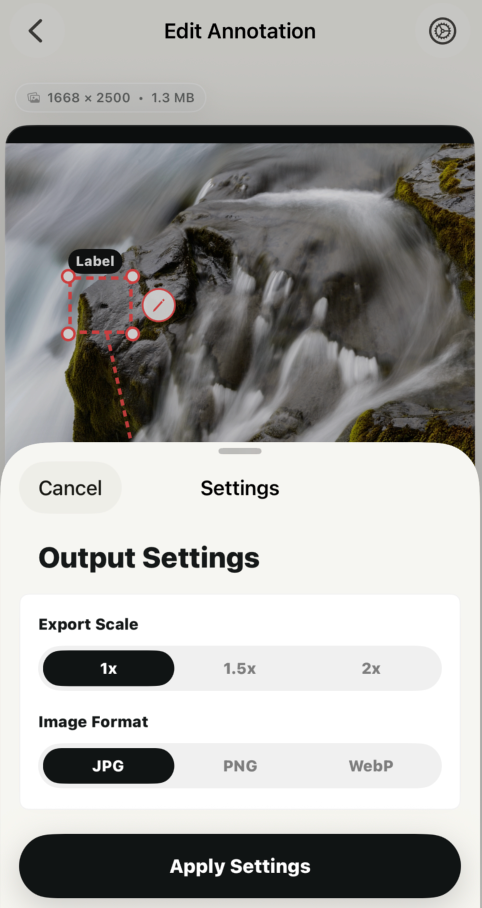
3. Configure Output
Before exporting, open Output Settings to choose the export scale and image format. The feature supports multiple resolutions and common image formats such as JPG, PNG, and WebP, making it easier to balance clarity, file size, and sharing compatibility.
4. Save and Share the Result
After generation, preview the final annotated image and zoom in to inspect details. You can save the result to Photos, export it to Files, share it with other apps or social media, or return to the photo list to start another annotation task.
Note: Image detection, Core ML fallback, manual editing, rendering, and export are all handled locally on your device.